
Traditional Polish Pierogi Recipe
 ramblingtravel
July 23
5 min read
ramblingtravel
July 23
5 min read

A favorite local dish and most likely one of the first images you think of when you hear “Poland.” The name derives from an old Slovian word “pir,” which means a feast, party, or merry gathering. Pierogi first came to Poland in the 13th century from Ruthenia, which was once part of Poland, who received it from China. According to a legend, Saint Jack Hyacinth of Poland fed the poor with pierogi which made him the Saint of pierogi. Continue below to learn how to make several types of pierogi using a traditional Polish pierogi recipe!
Servings: 12 pierogi per dough batch and filling batch
Prep Time: 15 minutes
Total Time: 2-4 hours
Meat Filling Ingredients
- 1/2 kg (17oz) beef for broth
- 1 carrot
- 1/2 celery
- 1 parsley
- 1 tsp pepper black
- 2 bay leaves
- 5 grains allspice
Meat Filling Cooking Instructions
- Cook the beef and pork as you normally would?
- Take out the meat and veggies to cool and then mince or grind.
- Add a pinch of salt and pepper.
- Add 2 tablespoons of soft butter,
- Add 2 chopped, caramelized onions and 4 cloves of garlic.
- Add 1 raw egg
- Add in the minced meat and vegetables to the bowl
- Stir to an even consistency.
Mushroom and Sauerkraut Filling Ingredients
- 100g (3,5oz) dried wild mushrooms
- 500g (17oz) ready-made sauerkraut.
- 80g (7oz) soft butter
- Salt, pepper
Mushroom and Sauerkraut Filling Cooking Instructions
- Mince the mushrooms.
- Combine the mushrooms and sauerkraut into a bowl together.
- Add salt and pepper.
- Stir to an even consistency.
Ruskie Pierogi- Cottage Cheese and Potato Filling Ingredients
- 250g (8,8oz) floury potatoes
- 3 tbsp olive oil
- 1 medium onion, finely diced and pressed clove of garlic
- 250g (8,8oz) cottage cheese
- Salt, pepper
Ruskie Pierogi FIlling Cooking Instructions
- Caramelize the onion and garlic together.
- Mash the potatoes.
- Combine the caramelized onion and garlic in a bowl with the mashed potatoes and the cottage cheese.
- Add a pinch of salt and pepper.
- Stir to create an even consistency.
Dough Ingredients
- 200 g (7 oz) flour
- 180 ml ( 0,7 cups) of boiling water
- 1 tablespoon of vegetable oil
- Pinch of salt
- Pinch of either beetroot juice/turmeric/sweet paprika/dried parsley/dried dill to help with differentiate filling types and to and more flavor!
Dough Cooking Instructions
- Combine all the ingredients into a bowl and begin mixing the ingredients together by hand using a wooden spoon.
- As the flour begins to take form, start kneading the dough adding more flour or water as necessary. (In my grandmother’s recipe, we don’t measure out the extra flour or water, we just make guesses using our eyes).
- Sprinkle flour on a clean surface and spread it evenly.
- Remove the dough from the bowl to the flour-covered surface and begin to flatten the dough using your hands, adding flour where necessary.
- Once somewhat flattened, roll the dough to 2-3 mm using a rolling pin.
- Using a plastic or glass cup, cut circles in the dough, and place a spoonful of the filling in the center of the side of the circle.
- Add a light brush of water to the edge of the circle that does not contain the filling.
- Using your hands, fold the edges of the pierogi together, using your fingers to squish the edges together to create a seal.
- Place off to the side on a floured counter and cover with a towel to keep out the air.
- Repeat until you have filled all of the circles from the first dough roll out.
- Recombine the dough and repeat steps 5 through 9 until it is no longer possible to cut full circles.
Different Classic Pierogi Toppings
- Melted butter
- Chopped caramelized onions
- Skwarki
- Fried bacon pieces
- Sour cream
- Chopped herbs: dill, parsley, or coriander
- Ketchup, mustard, or mayonnaise
- Cherry syrup
- Jams
Pierogi Cooking Instructions
- Bring a pot of water to boil and add a pinch of salt.
- One by one drop the pierogi carefully into the pot.
- Periodically stir to ensure that none of the pierogis are sticking to the pot or together.
- When the pierogis begin to float to the surface, reduce the heat to low and cook for 1-2 more minutes.
- Remove one at a time from the pot with a slotted spoon.
- Add the toppings and sour cream and serve!
- Enjoy!
Pierogi Tips
- Make sure the filling ingredients are cool before placing them in the pierogi or else the dough will fall apart and your pierogies are ruined.
- Add butter or vegetable oil to boiling water to prevent them from sticking to the pot while they cook.
- If you are not going to eat them immediately, let them cool down completely on an oiled plate before adding them to a storage food container. To eat them later, heat them in a microwave in a microwave-safe covered container and with a small cup of water.
- To save them for a later time, freeze them separately (raw or cooked) in a single layer and then put in a plastic bag once they are solid. You can also freeze the raw dough and the filling for a later time. Be sure to defrost pierogi before putting them in boiling water.
- For gluten free, you can experiment with whole grain flour.
Mastering the art of making traditional Polish pierogi is not just about cooking; it’s about embracing a rich culinary heritage. These savory dumplings are a symbol of warmth, comfort, and tradition in Poland. As you savor each bite of your homemade pierogi, you’ll be transported to the heart of Polish cuisine. So, gather your ingredients, roll up your sleeves, and embark on a delightful culinary journey with our traditional Polish pierogi recipe. Enjoy the taste of Poland right in your own kitchen!
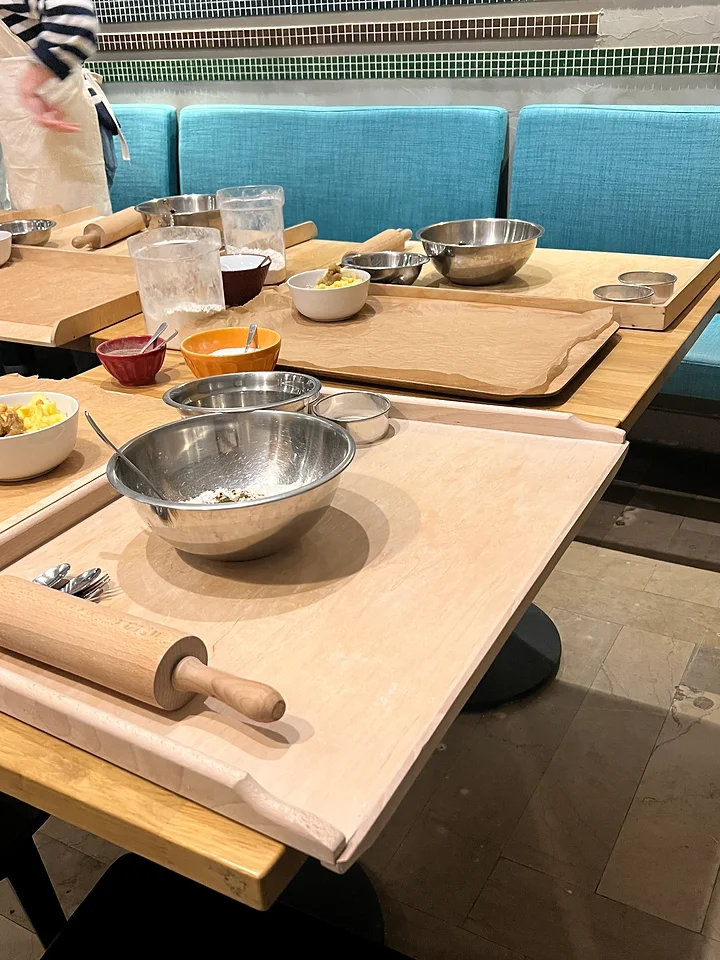
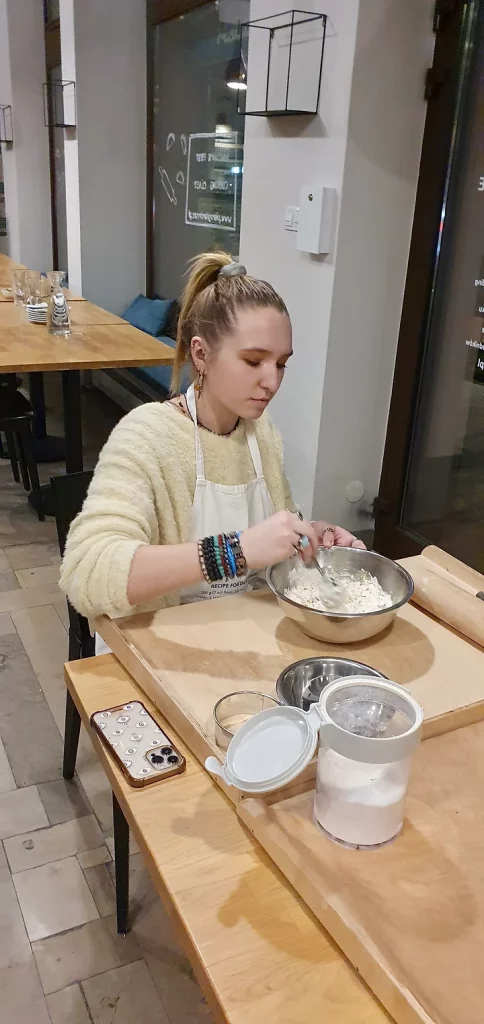
I would like to give a special dedication to my grandmother who left her family recipe to allow my family to stay connected with our Polish roots and to share our delish food with others. I would also like to thank Maria from Pierogi and More cooking classes for sharing with me her family’s way of cooking pierogi while I visited Warsaw.
Recent Posts

Related Posts

Explore Yosemite National Park: A Nature Lover’s Paradise
Key Highlights Next, let’s dive into what makes Yosemite National Park an unmatched treasure of the United…

Local Favorites: What Food to Eat in California
Key Highlights Introduction California, also called the golden state, is a great place for people who love…

Discover the 20 Best Places to Visit in California Now
Key Highlights Introduction California is a place that has something for everyone. You can find natural beauty…